Preface
For a while now I was looking into finding a good, preferably open-source solution to having a git client on an Android device. I've tested almost every Android application out there that could potentially achieve this, and here are my conclusions:
- Most solutions do not actually allow you to clone a git repository, but are instead implementations of specific service APIs such as GitHub or BitBucket. Because of this you end up locked up on their UI when it comes to managing files found in the repository. Some of them are even dependent on constantly requesting the server for each new directory or file you open so forget about proper offline support for those. In essence they are not true git clients, but rather service-specific clients.
- SGit (now MGit) and GitPocket are what we could call true git clients and they do allow you to clone the actual git repository but they always lack some important feature such as no proper ssh support, or allowing you to clone a repository to the external storage. Also as a matter of preference I try to stay away from a closed-source solutions for this one, since this application will be holding my ssh keys.
Enter Termux
Eventually I found that the best solution for me was to use Termux. In their own words, "Termux is an Android terminal emulator and Linux environment app that works directly with no rooting or setup required.". Git is one of the many tools you can install via the built-in package manager apt, and it will work exactly like the one on a Linux machine. Better yet, it *is* the same command-line git that you use on a desktop machine, and it is up-to-date ( :D <- me right now). Initially I was reluctant about using a terminal on a touchscreen device, I've have been there before many times in the past but figured it was worth trying again. And I'm glad I did so, it so happens that Termux manages to solve the usual usability issues in very clever way and has a very lean learning curve (I'll give some tips on how to leverage it in this article). It is by far the best experience I had with terminal emulators on Android, and it worth mentioning it is more than just a Terminal emulator. But I'm getting ahead of myself, in essence what matters to me is that Termux is an open-source project, and that for the first time I've a secure, reliable and usable zsh shell on a terminal that I like to use routinely on my phone.

Prepare the shell environment
Install Termux, it is available for Android 5.0 and up and you can find it on both the Play Store and on F-Droid.
Now start the application, and begin by making sure all the internal packages are up-to-date
$ apt update && apt upgrade
Then install the git and openssh packages like this:
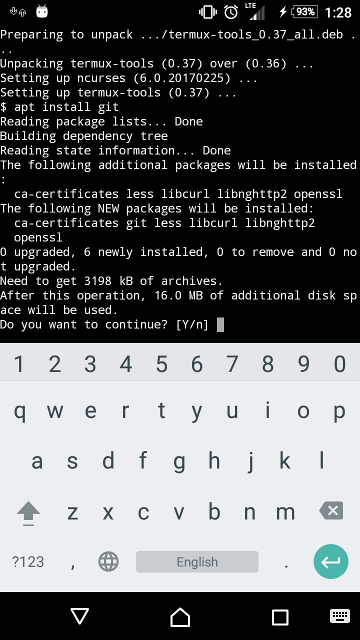
$ apt install git
$ apt install openssh

Notice that by default, Termux stores the $HOME folder into the application's private storage, the one provided by Android application sandbox and which by design is unique and only accessible to the app itself (expect for root and system user's of course). This is a good thing because it means your SSH keys won't be accessible to applications outside Termux.
External Storage support
If you want a cloned repository to be accessible by other Android applications, so you can edit or view the files externally, you'll want to clone them to the external storage. This used to be the sdcard on older versions of Android, but nowadays it is usually just a separate partition on the device that is accessible by any application that has been given external storage permissions. On the new Android phones that support sdcards you'll basically have more than 1 external storage. So don't worry if you don't have an actual sdcard as you'll always have an external storage within your device.
You should configure the external storage for usage with Termux by issuing the following command:
$ termux-setup-storage
Note: On newer versions of Android you'll be asked to give the application access to your external-storage, which is expected.
This is create a directory on your $HOME directory with the name storage, which is a symlink to the external storage directory. The storage directory will in turn contain several sub-directories that serve various different purposes, the one we'll be using is storage/shared which is the root of your device's external directory, the same one that can be accessed by other Android applications.
Copy SSH keys
The directory .ssh on your Termux's Home was created automatically when you installed the openssh package. Now you should copy your ssh keys to that directory. In my case I had adb with root permission, so I've simply copied my keys via adb. I've written 2 different methods below, use the one that fits you best.
ADB Root method
If you've root on your device, you may start adb as root like this:
$ adb root
restarting adbd as root
You're then able to copy your keys directly to the secure .ssh on the Termux home directory this way:
$ cd ~/.ssh
$ adb push id_rsa /data/data/com.termux/files/home/.ssh/
$ adb push id_rsa.pub /data/data/com.termux/files/home/.ssh/
Manual copy method
If you cannot start adbd as root then an alternative is to copy the files to your sdcard and then from Termux move them from the sdcard to the .ssh directory. This is the basic procedure:
- Copy your keys to your device's sdcard. You can use MTP for file transfer or use adb.
- Open Termux, and navigate to
/sdcard/as you normally would on the command line. - Use
mvto move the files to/data/data/com.termux/files/home/.ssh/ - Make sure you didn't leave any keys on the sdcard after you've confirmed that the keys were successfully copied to
.ssh. Read Secure your keys below to know why you should be careful with this.
Secure your keys
After copying the keys to the .ssh directory erase any trace of them from your external storage. Do NOT leave your ssh keys on the external storage of your phone! This would make it easy for them to be read and therefore stolen by any application on your Android phone that have the permission to read external storage. Even if you trust that you've installed only trustful applications, one of those applications might get hijacked and the attacker would get the same permissions as the hijacked application has (applications like your browser and social network apps are usual targets for this type of attack).
Test it out
You're done!

You can test if your ssh keys are working properly by cloning a private repository that you've assigned that key. Remember that on Termux the home directory is on accessible to Termux alone, so if you want to use the files of a repository with other applications installed on your Android device clone to /storage/shared instead which is a symlink to the root of your device's external storage.
I recommend that you check-out Termux web-page and learn more about it, and while you're at it think about donating to help the project's developers continue their good work (I'm not affiliated in any way).
Extras
Here are some cool tips on using Termux that will make your life easier.
Tune Termux
Using a command line with a touchscreen as input is not easy but Termux has some built-in features that make the experience better. While on Termux, Volume-Down acts as the CTRL key and Volume-Up is used for special keys. Touch Volume-Up+Q on your virtual-keyboard to make Termux display a row on top of the keyboard that has practical shortcuts for commonly used keys.
Also, you might notice that basic command line tools you've come to expect from a Linux environment are somewhat 'defective'. For example, in many Android devices this parameterized command ls -la will not be recognized as a valid one. You can fix this by installing the coreutils package:
$ apt install coreutils
SSH into your Termux
Termux help page has a very good entry on the subject of running a openssh server on Termux.
Install Tig
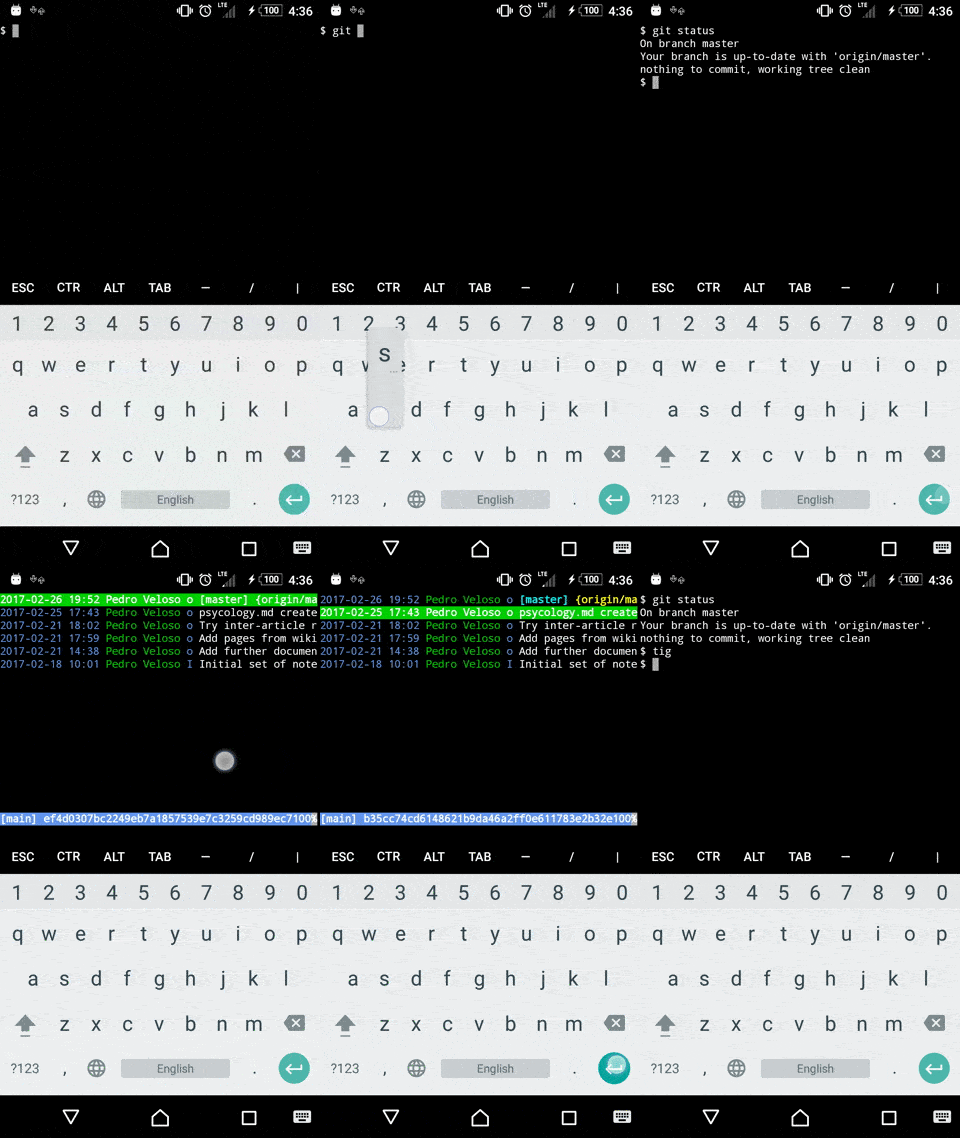
Tig is an ncurses-based text-mode interface for git. It makes it easier to browse a git repository, therefore defeating the need for a dedicated Android application for this purpose. When using it note that on Termux you can emulate the keyboard arrow keys for navigating ncurses by simply swiping on the screen in the same direction of the arrow key you're trying to use. To install tig:
$ apt install tig
Got some cool tips that I've missed? Let me know in the comments or shoot me a tweet. ✌
